 Regit Decor
How to Use Plywood as Flooring Underlayment
Can plywood be used for flooring underlayment? Yes, in many projects, but the answer depends on the flooring system, plywood grade, and site conditions. Plywood can create a stable, economical surface beneath vinyl, laminate, engineered wood, or some tile assemblies. It is not a universal fix. Real floors respond to moisture, movement, and uneven framing. A sheet that looks flat in the store may swell after exposure to damp air. That detail matters.
This guide explains how to evaluate plywood before installation and prepare it for reliable service. It covers thickness, face grade, panel orientation, joints, fastener spacing, and transitions at doorways. It also considers the existing subfloor, because underlayment cannot correct every structural problem. Loose boards, deflection, stains, and soft spots require attention first. Use flooring and plywood manufacturers’ instructions as primary references. Building requirements may also vary by location.
A practical installation starts with acclimating panels in the room and checking moisture conditions. Leave appropriate movement space, stagger seams, and avoid placing four corners together. Fasteners should sit flush, not tear the surface. Small mistakes can telegraph through thin resilient flooring. Tile demands especially careful stiffness and compatible underlayment layers. The recommendations here reflect common professional practice, but they are not a substitute for project-specific guidance. I have seen rushed installations fail at seams, even when the plywood itself was sound. That is worth remembering. Measure twice. Inspect the finished surface under side lighting before covering it.
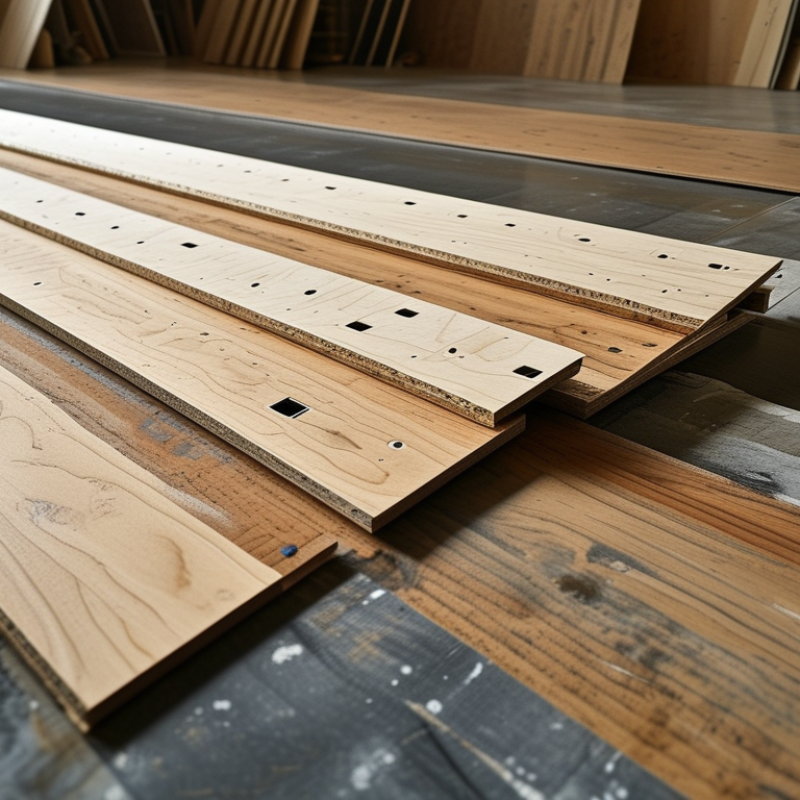
Assessing Plywood Suitability for Flooring Underlayment
Plywood can serve as a reliable flooring underlayment, but suitability depends on the floor system.
APA’s 2023 Engineered Wood Construction Guide identifies plywood as a stable structural panel when its grade, thickness, and exposure rating match the installation. It should be flat, clean, and free from delamination. A thin sheet cannot repair a flexible or damaged subfloor. That mistake creates movement, squeaks, and cracked finishes.
Moisture deserves more attention than it usually receives. The National Wood Flooring Association’s installation guidelines use tight flatness limits, commonly about 1/8 inch across 6 feet for wood flooring. Use a moisture meter on both the plywood and subfloor. Their readings should be close before covering the surface. Leave manufacturer-specified gaps at panel edges, and stagger joints between layers. Screws should sit flush, not break the face veneer. I would not trust visual dryness alone. It looks convincing, but it can be wrong.
Tips:
Select smooth, interior-grade plywood for resilient flooring, unless the flooring specification requires another panel. For tile, follow the current tile installation standard and use a compatible cement-based backer system when required. Keep the room conditioned before installation. APA guidance and the USDA Forest Products Laboratory’s Wood Handbook both show that wood products respond to changing humidity. That detail is easy to overlook. A small edge gap can prevent a large repair later.
FAQS
: Yes, if it matches the floor system, thickness, grade, and exposure requirements. It must be flat, clean, dry, and free from delamination. Thin plywood cannot fix a weak subfloor.
Walk across it slowly and mark soft or squeaky areas. Secure loose boards and replace damaged sections. Flatten raised seams and fill serious low spots before installation. Small ridges can show through thin flooring.
Use a moisture meter on both the plywood and subfloor. Their readings should be reasonably close before covering the surface. Do not trust visual dryness alone. It can be misleading.
Yes, keep the panels indoors for at least 48 hours. Store them flat and raised from the floor. Maintain normal room conditions during preparation and installation. Humidity changes can make wood expand or contract.
Leave the manufacturer’s recommended gaps at panel edges. Also leave a small expansion gap around walls and fixed objects. Stagger joints between plywood layers and subfloor seams. A tiny gap matters.
Use approved corrosion-resistant screws or ring-shank nails. Fasten near panel edges and across the field at suitable spacing. Drive each fastener straight and slightly below the surface. Do not break the face veneer.
No, adhesive alone is generally unreliable for this application. Use the required fasteners for the floor system. Fasten the plywood to the subfloor unless specific instructions require another method. Test a small area first.
No, moisture-resistant plywood offers added protection but does not replace waterproofing. It may suit areas with occasional dampness. Persistent leaks still require correction. That distinction is easy to miss.
Tile installations may require a compatible cement-based backer system. Follow the current requirements for the complete tile assembly. Plywood alone may not provide the needed surface. Tile is less forgiving.
Recheck every panel edge, seam, screw head, and soft area. Use a straightedge to confirm the surface is reasonably flat. Inspect for movement, hollow spots, swollen edges, and visible fasteners. I would not skip this inspection.
Conclusion
Can plywood be used for flooring underlayment? Yes, when the appropriate grade, thickness, and condition are selected for the flooring system. Before installation, assess the plywood for strength, moisture resistance, flatness, and compatibility with the finished flooring. Gather the necessary tools and fasteners, then clean, level, and repair the subfloor so it provides a stable base. Measure the room carefully, plan the panel layout, and cut the plywood to allow proper spacing at walls and between sheets for natural movement.
Position the panels with staggered seams and keep their edges properly supported. Fasten the plywood securely to the subfloor using suitable screws or other approved fasteners, while avoiding alignment with weak or damaged areas. After installation, inspect the surface for raised fasteners, uneven joints, gaps, or movement. Sand or correct any imperfections, remove dust and debris, and confirm that the underlayment is smooth, dry, and clean before installing the finish flooring.
